
Understanding Quantity Take-off in Construction Projects
Every successful construction project, whether it is a small residential remodel or a multi-million-dollar commercial skyscraper, begins with a single, foundational question: What exactly do we need to build this?
Answering this question accurately is the beating heart of construction estimation. If you miscalculate your materials, your budget shatters, your timeline extends, and your profit margins vanish. This is why mastering the Quantity Take-off is non-negotiable for contractors, estimators, and project managers.
In this comprehensive guide, we will explore the nuances of the Quantity Take-off. We will walk you through foundational skills, advanced digital workflows, and practical strategies to ensure your project begins on solid ground.
What is a Quantity Take-off?
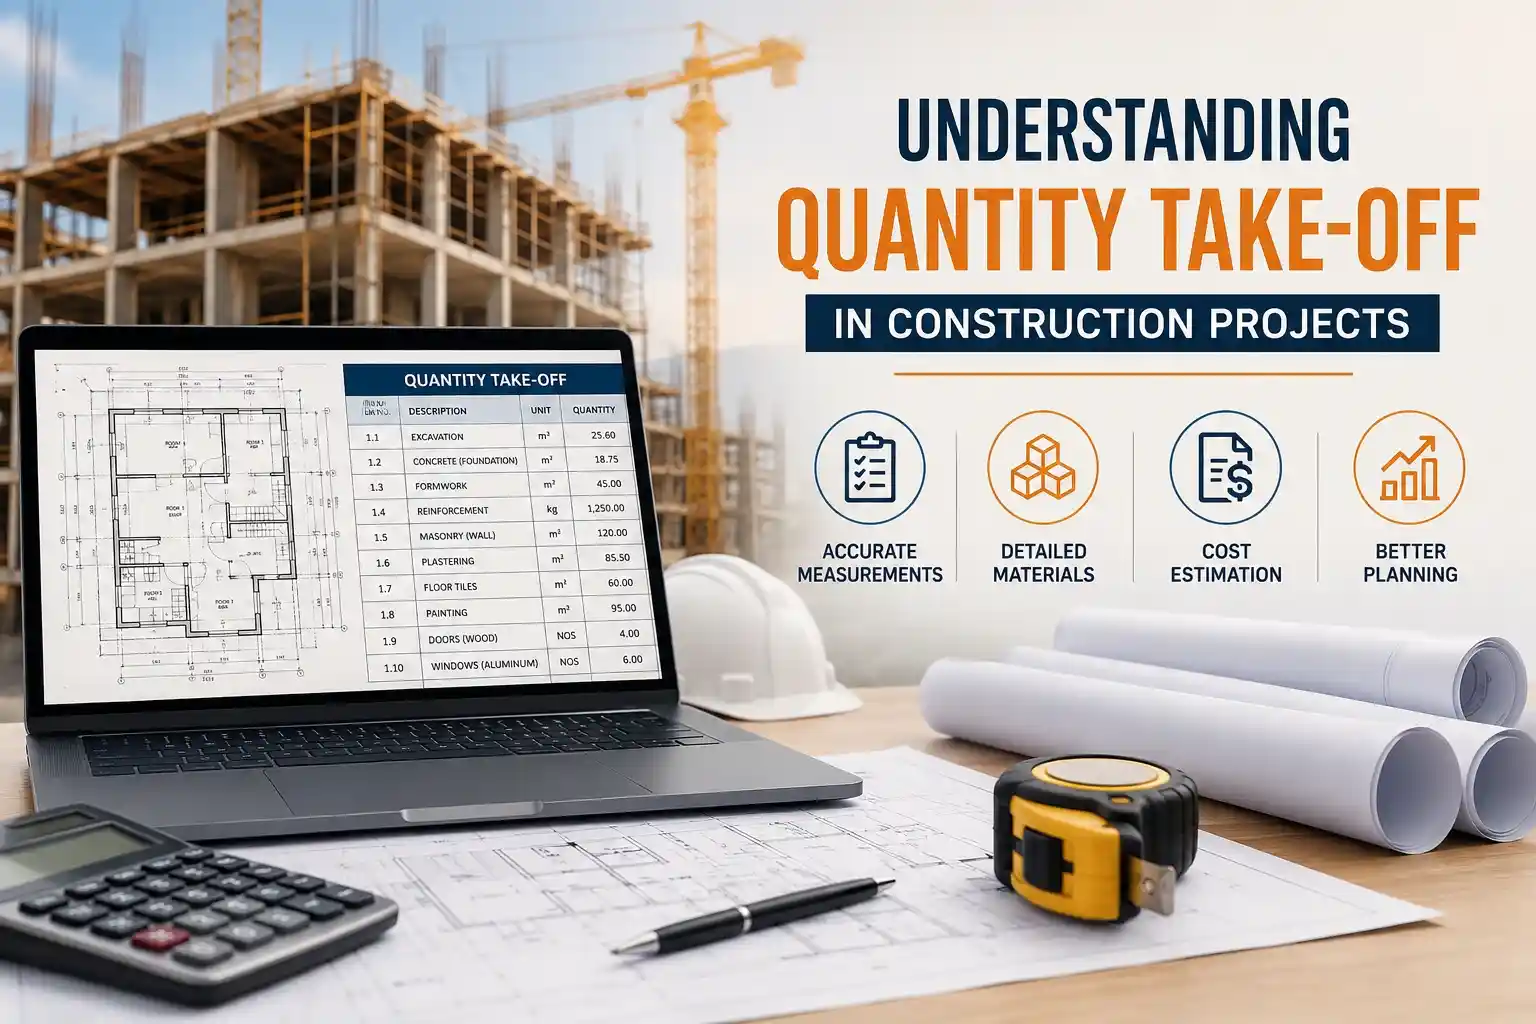
A Quantity Take-off (often abbreviated as QTO) is the detailed measurement and cataloging of all the physical materials required to complete a construction project.
Before a single trench is dug or a single brick is laid, an estimator must review the project’s blueprints and specifications to extract a comprehensive list of items. This process forms the absolute baseline for all subsequent cost estimation. You cannot price a project if you do not know how much concrete, steel, drywall, and lumber is required.
A thorough construction material estimation process does more than just count parts. It categorizes materials by specific trades, accounts for waste, and sets the stage for labor calculations and procurement.
Why is the Quantity Take-off So Critical?
- Budget Foundation: It dictates the baseline cost of goods.
- Resource Planning: It tells procurement teams exactly what to buy and when to schedule deliveries.
- Tendering Success: Improving accuracy in building tenders relies heavily on precise take-offs. An accurate take-off allows you to bid competitively without sacrificing your profit margin.
Foundational Skills: How to Read Blueprints for Estimating
Before you can count materials, you must be able to decipher the language of construction. Knowing how to read blueprints for estimating is a specialized skill that goes beyond simply looking at a picture; it requires spatial awareness and an understanding of technical symbology.
1. Understand the Title Block
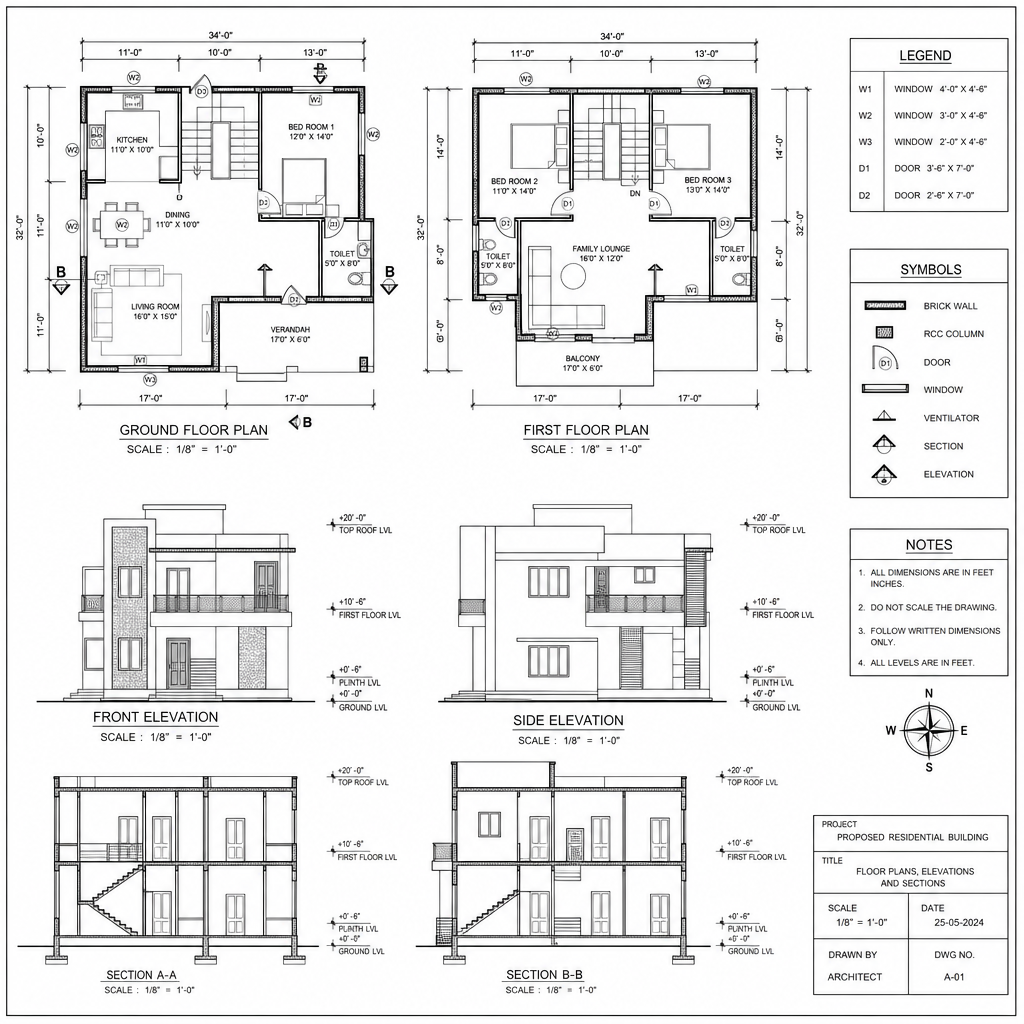
The title block is your map’s legend. It contains the project name, the architect’s information, the drawing date, and crucially, the scale. Always verify the scale before starting a take-off. A common mistake is using a 1/4″ = 1′-0″ scale on a drawing printed at half-size, resulting in drastically inaccurate measurements.
2. Navigate the Disciplines
Blueprints are categorized into disciplines, usually denoted by a letter preceding the page number:
- A (Architectural): Floor plans, elevations, roof plans, and finishes.
- S (Structural): Foundation details, framing, steel, and concrete reinforcement.
- M/E/P (Mechanical, Electrical, Plumbing): HVAC ductwork, wiring diagrams, piping layouts.
3. Master Symbols and Abbreviations
Every trade has a specific set of symbols. An estimator must cross-reference the drawing’s legend to understand what specific line types, hatches, and icons represent.
4. Cross-Reference with the Project Manual (Specifications)
A 2D line on a blueprint might indicate a wall, but the specifications book tells you if that wall is standard drywall or moisture-resistant green board. A successful estimator constantly bounces between the drawings and the spec book.
A Step-by-Step Construction Measurement Guide
Creating an accurate take-off is a systematic process. Jumping around a set of plans randomly is a guaranteed way to miss items or double-count them. Here is a reliable, step-by-step construction measurement guide to keep your take-offs organized.
Step 1: The High-Level Overview
Before measuring anything, spend an hour simply reviewing the plans and specifications. Understand the scope of work, the site conditions, and the general complexity of the build.
Step 2: Establish a Naming and Coding Convention
Organize your take-off using standard industry codes, such as the CSI MasterFormat (e.g., Division 03 for Concrete, Division 09 for Finishes). This makes integrating material counts with project budgets much easier later on.
Step 3: Execute the Measurements
Group your measurements by geometric type. You will generally deal with three types of measurements:
- Count Items: Doors, windows, light fixtures, plumbing fixtures. These are exact individual units.
- Linear and Square Footage Measurements:
- Linear footage is used for baseboards, piping, wiring, and wall track.
- Square footage is used for flooring, drywall, roofing, and painting.
- Volumetric Measurements: Cubic yards or meters, typically used for concrete pours, excavation, and aggregate base materials.
Step 4: The Art of Calculating Material Waste Factors
No construction project goes perfectly. Materials get dropped, cut to fit awkward spaces, or arrive damaged. Calculating material waste factors is vital to ensure you do not run out of supplies mid-project.
Waste factors vary by material and project complexity:
- Drywall: 5% to 10% (depending on the number of cutouts for doors and windows).
- Tile and Hardwood Flooring: 10% for straight lays, up to 15% for diagonal or herringbone patterns.
- Concrete: 5% to account for spillage, uneven subgrades, and pump truck remnants.
Actionable Tip: Never apply waste to your raw measurements. Keep your net quantities (the exact blueprint measurements) separate from your gross quantities (the amount ordered including waste). This ensures transparency if the project scope changes.
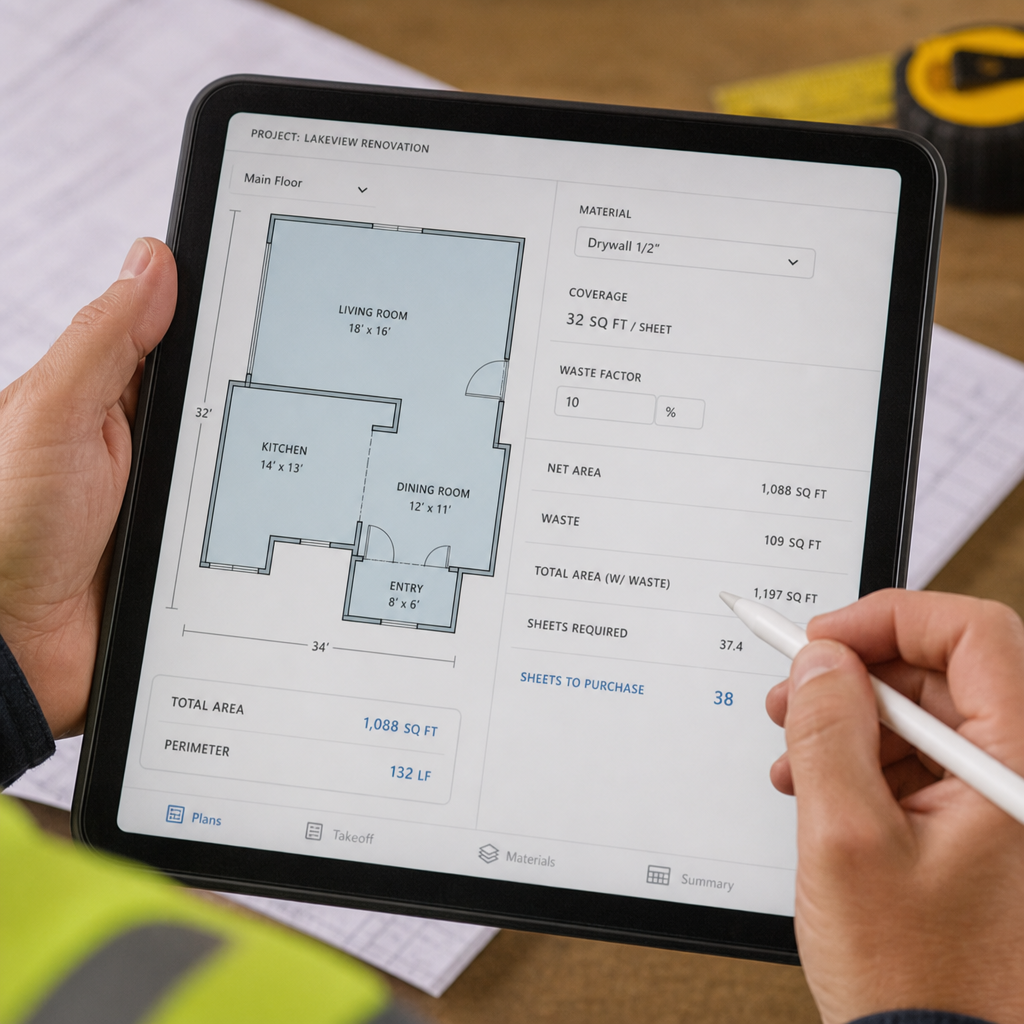
Modernizing the Process: Manual vs Digital Measurement Methods
The construction industry has historically been slow to adopt new technology, but the way we perform take-offs has undergone a massive transformation. Understanding the difference between manual vs digital measurement methods is key for modern estimating teams.
The Manual Method
Historically, estimators used large drafting tables, scale rulers, highlighters, and mechanical clickers.
- Pros: Requires a deep, tactile understanding of the plans. Forces the estimator to look closely at every detail.
- Cons: Incredibly time-consuming. Prone to human mathematical error. Sharing manual markups with a remote team is difficult, and revising quantities when a new architectural addendum is released means starting almost from scratch.
The Digital Revolution
Today, material list generation from 2D plans is largely handled by specialized software like Bluebeam Revu, PlanSwift, or On-Screen Takeoff.
- Pros: You can calibrate a digital page instantly. The software handles the math, converting a drawn polygon instantly into square footage and perimeter linear footage. You can use layers to turn different trades on and off, making the plans easier to read.
- Cons: It is easy to point and click without truly understanding the constructability of the design.
The Rise of Automated Pre-Construction Measurement Tools
We are now entering an era of automated pre-construction measurement tools. Powered by AI and machine learning, some modern platforms can scan a 2D floor plan, recognize the symbols for doors, windows, and walls, and automatically generate a base take-off in minutes. While these tools still require human verification, they drastically reduce the time spent on mundane counting, allowing the estimator to focus on complex pricing strategies.
Transitioning from QTO to BOQ: A Bill of Quantities Preparation Guide
A Quantity Take-off gives you a list of materials, but it does not give you a price. To turn a take-off into a budget, you must prepare a Bill of Quantities (BOQ).
A BOQ is a highly structured document used in the tendering process in the construction industry in which materials, parts, and labor (and their costs) are itemized. Here is a brief bill of quantities preparation guide:
- Item Description: Clearly define the item based on the specs (e.g., “Supply and install 12×12 ceramic floor tile, including thin-set and grout”).
- Unit of Measure (UOM): Square feet, linear meters, lump sum, or each.
- Quantity: The gross number pulled from your Quantity Take-off (including waste).
- Unit Rate: The cost per single unit. This includes the cost of the material itself, plus the labor to install it, equipment needed, and a portion of overhead.
- Total Amount: Quantity multiplied by the Unit Rate.
Integrating material counts with project budgets via a BOQ provides transparency. It allows project owners to compare bids “apples-to-apples.” If Contractor A and Contractor B have the exact same quantities in their BOQ, but Contractor A’s price is higher, the owner knows the difference lies in labor rates, material sourcing, or profit margins, not in a misunderstanding of the project size.
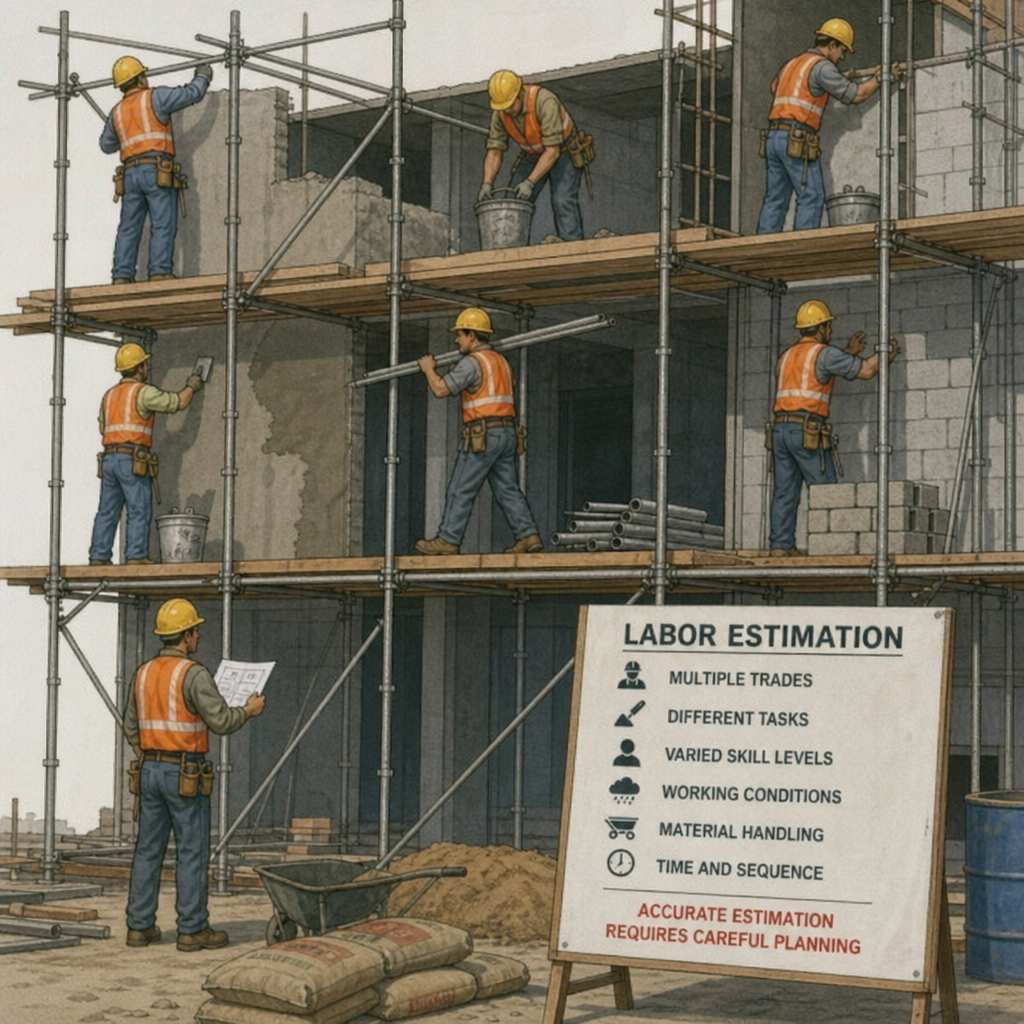
The Human Element: Estimating Labor Hours from Drawings
One of the most challenging aspects of cost estimation is determining how long it will take human beings to install the materials you just counted. Estimating labor hours from drawings requires a deep understanding of field operations.
You cannot simply look at a pile of 1,000 bricks and assign a flat hourly rate. You must consider the context of the installation:
- Productivity Rates: How many square feet of drywall can a standard two-person crew hang in an 8-hour shift? Estimators rely on historical company data and industry standard manuals (like RSMeans) to find these baseline productivity rates.
- Site Conditions: Installing flooring in a wide-open, empty warehouse is fast. Installing that same flooring in a cramped, occupied office building requires moving furniture, working in confined spaces, and taking care not to damage existing walls. The labor rate must be adjusted accordingly.
- Elevation and Access: Painting a 10-foot ceiling from a small ladder is standard. Painting a 40-foot atrium ceiling requires erecting scaffolding or renting a scissor lift. The labor hours will skyrocket due to setup, teardown, and safety protocols.
By carefully studying the architectural sections and elevations during your take-off, you can flag these challenging areas early and adjust your labor productivity factors appropriately.
The Cutting Edge: BIM Based Cost Estimation Workflow
While 2D digital software is the current industry standard, the future of the Quantity Take-off lies in Building Information Modeling (BIM).
A BIM based cost estimation workflow (often referred to as 5D BIM, where the 4th dimension is time/scheduling and the 5th dimension is cost) revolutionizes the process. Instead of lines on a flat page, BIM utilizes a fully realized 3D digital twin of the building.
How 5D BIM Changes the Game
In a BIM model, a wall is not just two parallel lines; it is an intelligent digital object. If you click on that wall in the software, it “knows” it is 10 feet high, 20 feet long, made of 6-inch steel studs, packed with R-19 insulation, and covered in 5/8-inch gypsum board.
Because the data is embedded in the model, generating a Quantity Take-off can be nearly instantaneous. The estimator can pull a report that instantly lists the exact volume of concrete, the tonnage of structural steel, and the square footage of glass in the entire building.
The Caveat: “Garbage In, Garbage Out”
While a BIM based cost estimation workflow is incredibly powerful, it comes with a major caveat. The take-off is only as accurate as the 3D model provided by the architect or engineer. If the architect drew a generic wall without specifying the internal components, the BIM software cannot magically quantify the insulation and studs. Therefore, estimators using BIM must still possess strong foundational knowledge to audit the model, spot missing data, and manually add the supplementary materials that the designer left out.
Best Practices for Reducing Errors in Construction Estimates
An estimator’s worst nightmare is winning a bid, only to realize they forgot to take-off the roof. Reducing errors in construction estimates requires rigid adherence to best practices and a culture of double-checking.
Here are actionable strategies for ensuring your take-offs are bulletproof:
1. Implement Standard Operating Procedures (SOPs)
Every estimator in your company should perform take-offs the same way. Use standardized color coding in your digital software (e.g., all concrete is blue, all drywall is yellow, all flooring is green). This allows a senior estimator to glance at a marked-up drawing and instantly know what has and has not been quantified.
2. The Power of the Peer Review
Never submit a major bid without having another set of eyes on it. A peer review does not mean recounting every single door, but rather performing a “sanity check.” Does the total square footage of the flooring roughly match the gross square footage of the building footprint? If not, something was missed or double-counted.
3. Track Changes and Addenda Religiously
Architects frequently issue revised drawings (addenda) during the bidding process. Failing to update your take-off based on a new addendum is a primary source of estimate errors. Modern digital tools allow you to overlay a new blueprint on top of an old one; the software highlights what has been added in green and what has been deleted in red, making it easy to adjust your quantities.
4. Build a Master Checklist
Create a comprehensive checklist tailored to your specific trade. Before finalizing the estimate, run through the checklist. Did I include the primer before the paint? Did I include the specialized hardware for the fire-rated doors? Checklists prevent the minor, supplementary items from falling through the cracks.
Professional Development: Construction Estimator Certification Requirements
As the construction industry becomes more complex and technologically advanced, the role of the estimator has elevated from a back-office number cruncher to a highly respected strategic partner. For those looking to advance their careers, pursuing formal certification is an excellent step.
Understanding construction estimator certification requirements depends on your region and the specific organization you choose to join. However, the most universally recognized credentials demand a rigorous mix of experience and examination.
Prominent Certifications
- Certified Professional Estimator (CPE): Offered by the American Society of Professional Estimators (ASPE), this is one of the most prestigious designations. Achieving CPE status requires passing comprehensive exams that test your ability to read blueprints, understand construction ethics, perform accurate take-offs, and generate valid costs. Candidates usually need at least five years of on-the-job estimating experience before they can sit for the exam.
- Certified Cost Professional (CCP): Offered by AACE International, this certification focuses heavily on total cost management, project control, and economic analysis, making it ideal for those working on massive, multi-year mega-projects.
- RICS Chartered Surveyor: For those in the UK, Commonwealth nations, and increasingly globally, becoming a Member of the Royal Institution of Chartered Surveyors (MRICS) with a specialization in Quantity Surveying is the gold standard.
Why Get Certified?
Earning these credentials proves to employers and clients that your skills have been independently validated. It demonstrates a mastery of everything from manual linear and square footage measurements to complex digital workflows. Furthermore, when an estimating firm is competing for government contracts or massive commercial developments, having certified estimators on staff can be a major competitive advantage, significantly improving accuracy in building tenders and building trust with project owners.

The Interconnected Nature of Estimating
It is vital to view the Quantity Take-off not as an isolated task, but as the first domino in a long chain of construction management events.
When you perform a take-off, you are essentially building the project in your mind (or on your screen) before the physical labor begins. This mental run-through allows you to spot constructability issues. For example, while taking off the HVAC ductwork, you might notice that the main supply trunk clashes directly with a structural steel beam.
By catching this during the estimating phase, you can raise a Request for Information (RFI) with the architect before the bid is even submitted. Resolving this issue on paper costs nothing; discovering the clash on the job site with cranes running and crews waiting costs thousands of dollars a day. In this way, a meticulous estimator serves as the first line of defense for quality control and risk management.
Bridging the Gap Between Field and Office
The most successful estimators are those who maintain a strong relationship with the field superintendents and project managers. Once a project is won, the estimator must hand over the take-off and the budget to the team executing the work.
If the take-off is messy, confusing, or based on unrealistic assumptions about labor productivity, the field team is set up for failure. Conversely, a clean, well-documented take-off serves as a precise roadmap for the superintendent. It allows them to phase material deliveries perfectly, ensuring the site isn’t cluttered with drywall weeks before the framing is finished.
Furthermore, estimators should regularly review the actual costs of completed projects compared to their original estimates. If your take-off allowed for 5% waste on lumber, but the field team consistently used 12% waste over the last three projects, you need to adjust your calculating material waste factors for future bids. This continuous feedback loop is the hallmark of a world-class estimating department.
Conclusion: The Bedrock of Profitable Construction
The journey of a building begins long before the concrete is poured. It begins with the careful, meticulous process of the Quantity Take-off.
From mastering how to read blueprints for estimating, to understanding the nuances of linear and square footage measurements, to navigating the latest automated pre-construction measurement tools, the role of the estimator is both an art and a strict science.
Whether you are utilizing traditional methods or pioneering a BIM based cost estimation workflow, the goal remains identical: reducing errors in construction estimates to ensure projects are feasible, budgets are realistic, and companies remain profitable.
By treating the construction material estimation process with the respect and rigorous attention to detail it deserves, you lay a foundation of financial security that will support the entire lifespan of the construction project. Take your time, leverage the right technology, implement strict quality controls, and watch as your building tenders transform from hopeful guesses into highly accurate, winning proposals.